Sod Installation Guide
The following is a step-by-step guide on how to install sod. We will help you through the process of installing your new grass. We have other blogs below if you need help learning how to prep for the sod.
Sod Delivery:
When the driver arrives, notes should have already been provided to the driver on where you want the pallets. Have the area ready. While we want to make sure the pallets are in the correct spot, we can’t wait around for long as we wait for the area to be ready. The driver will determine what he can and can’t do. You assume all risks by allowing the forklift onto your property. While our drivers are very careful, accidents and mistakes do occur.
The minimum requirement is a 9-foot opening to allow for the forklift to enter the yard and cannot pass under or into a structure.
Each pallet is 4’x4′ with 640 square feet of sod. We recommend that you have the driver put the pallets outside the area to be installed with sod. This way, the pallet does not interfere with the sod installation.
How to Install Sod
The sod needs to be installed the same day as delivery, no matter the weather outside.
-Green Side Up
-Before placing each row of sod, we recommend raking out all low spots, footprints, and forklift marks.
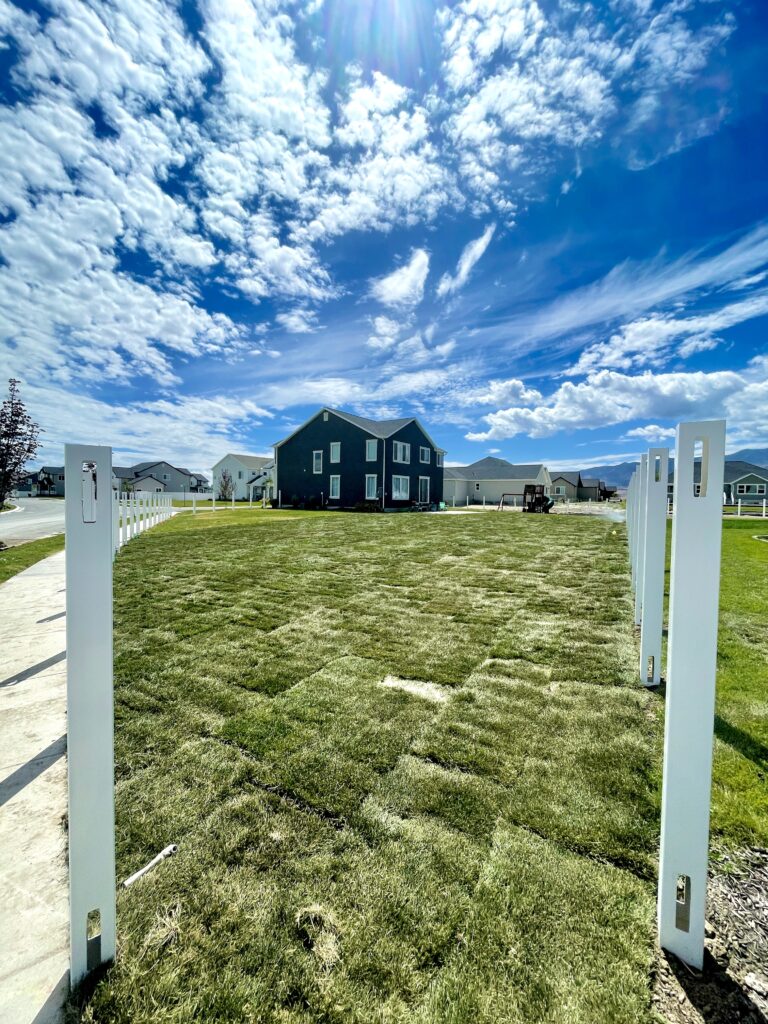
-Start each sod row by laying the sod end to end along a straight line the farthest way from the entrance of your yard. Return to the starting point and begin your 2nd row with a Half Piece of sod. Begin your 3rd row with a full piece of sod, then the 4th row uses a half piece of sod to start, and so on. This will allow a “stair step” pattern in the yard, and all the sod will not line up exactly.
-If you begin each row this way, you can have one person lay a piece on row 2 and then lay a piece on row 3 then on row 4, etc. This allows one person to stay on their knees while the other carries the rolls from the pallet, dropping the “tail” of the roll close to the end of the piece already in place. (Using this approach will minimize excessive bending and kneeling with the sod installation)
-You will want to make sure all pieces are tight against the previous piece, avoiding gaps and overlaps.
-Install sod by sprinkler zones. As soon as a zone is completed. Turn the water on that zone. This will help make sure that all zones are working correctly, and no sprinklers get missed, as well as providing coverage for all sod in the area.
One person can be trimming the sod (it is recommended to use a sharp knife for this). When laying sod against cement edges, lay sod over the top of these edges and use the cement edge to cut against, leaving a perfect match of sod to cement.
-Avoid leaving small pieces or strips on the outer edges. (Small pieces shrink and dry out).
-On slopes, place the sod pieces across the slope. Start at the bottom and work your way up.
-Take pictures of your completed installation the same day as delivery and send them by text to our regular business phone number. This step is necessary to qualify for our warranty again defect. You must also adhere to following watering instructions.
Water – #1 Importance
Sod must be watered within ½ hour of installation. A light spray is not sufficient. At least 1 inch of water should be applied ASAP-measure it to ensure the sod will not go into shock, if it does not receive adequate water soon enough, it will turn yellow first before it greens up.
A simple method to measure the amount of water being applied would be to place straight-sided cans, cups or pans around the yard. After watering, measure the amount of accumulated water in the can, with a ruler, if it is at least 1 inch you can stop, if not, continue.
Water your new sod ½ inch per day for the 1st week in hot weather, ¼ inch in cool weather.
The idea is keeping the area under the sod wet enough for the roots to chase the water down. It is hard to overwater the sod during this time, but easy to underwater it.
Rain can be counted in the amount of water applied, but it must be measured. People often think that rain is sufficient. We seldom receive enough rain, to keep from using the sprinklers.
After 2 weeks of watering, mow the lawn. Mow no more than 1/3 the length of the grass blade. Leave the clippings on the lawn, do not rake them up.
Over the next two weeks, taper the watering frequency down to a normal watering schedule.
You may now use and enjoy your lawn.
Now you know how to install sod. Feel free to reach out for any additional questions.

